
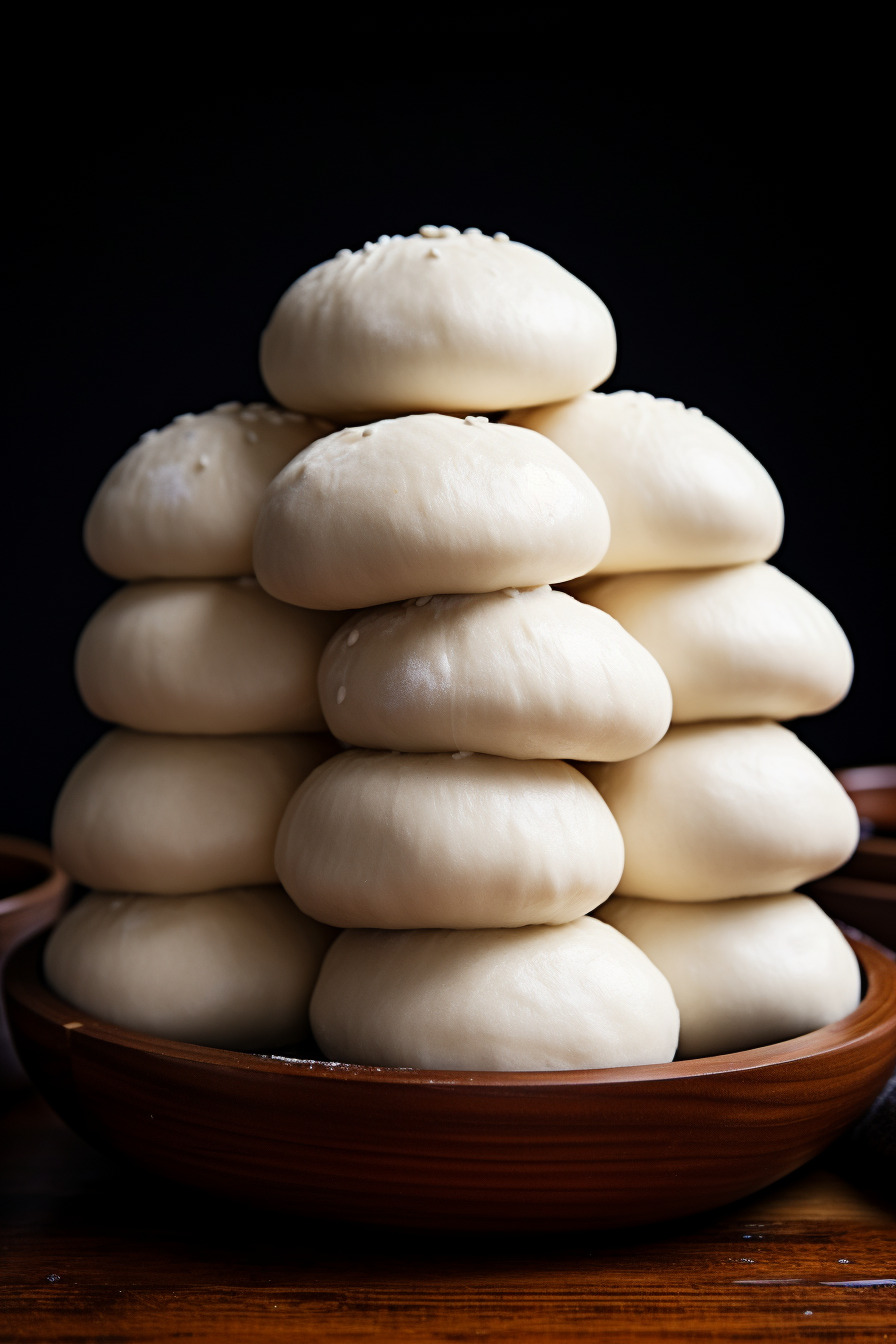
Soft and fluffy Chinese steamed buns, also known as Mantou, are a staple in Chinese cuisine.
Soft Fluffy Chinese Steamed Buns (Mantou)
These buns are perfect for any meal, and can be filled with a variety of delicious fillings or eaten plain. These soft and fluffy Chinese steamed buns, also known as Mantou, are a staple in Chinese cuisine. They can be filled with a variety of delicious fillings or eaten plain. They are perfect for any meal, and are sure to impress your friends and family with their soft and fluffy texture.
Ingredients
- 300 gr all-purpose flour plus more for dusting
- 60 gr Wheat starch (see notes 1)
- 180 gr all-purpose flour plus more for dusting
- 180 gr cake flour
- 4 gr Instant yeast (About 1 1/4 tsp, see notes 2,3,4)
- 60 gr sugar (you can cut down on the sugar or add more to your taste)
- 1 Tbsp cooking oil
- ½ tsp salt
- 150 ml cold milk (plus more to dab the surface of the buns later, see notes 5)
Directions
- Place the flour/starch combination (either option 1 or 2), instant yeast, sugar, salt, and oil in a mixing bowl. If you are using a stand mixer, use a dough hook attachment. Add cold milk or room temperature water. Start with 150 ml and add more until you can form a dough. You will most likely need to add more milk/water. I would rather you start with the lowest amount of liquid and add more teaspoon by teaspoon until the dough comes together. With option 1 I use close to 200 ml and with option 2 I need about 180 ml. This is just for your reference, you may need more or less.
- Continue to knead at low speed (speed 2 on KA) for 12-15 minutes (updated for the best result) or until the dough is smooth, silky and elastic.
- Rest the dough for 15 minutes. This is not to proof the dough. It shouldn’t double in size. This is to relax the gluten for easier shaping and rolling the dough, then proceed to next step that’s applicable to you.
- If you are going to make steamed buns with filling, divide the dough into 12 equal portions. Lightly dust the work surface with some flour. Work with one dough at a time. Knead the dough a few times to push out any air bubbles (if any). Flatten the dough with your palm and then use a rolling pin to roll it out to form a circle about 4-5 inches, with a slightly thicker middle part. This is to support the weight of the filling. Don’t roll the dough too thin. If you roll the dough too thin, the filling might make the steamed buns “wrinkle” later when you steam. Place the filling at the center and then gather the sides to enclose the bun and pinch to seal. Flip the bun so the seam side is down now.
- Cup the dough with both palms and move the dough in a circular motion to shape it taller. This part is important so your steamed buns come out tall instead of spreading to the side after steaming. Repeat with the rest of the dough. Cover with a clean kitchen towel and proceed to proofing.
- If you are just making plain steamed buns with no filling (round shape), divide the dough into 12 equal portions. Lightly dust the work surface with some flour. Work with one dough at a time. Knead the dough a few times to push out any air bubbles (if any).
- Then pull and tuck the dough so the seams are at the bottom and the surface is smooth and round. Roll the dough into a smooth round ball in between the palm of your hand or as I did in the video. REALLY make sure the dough is smooth.
- Cup the dough with both palms and move the dough in a circular motion to shape it taller. This part is important so your steamed buns come out tall instead of spreading to the side after steaming.
- Place on a piece of parchment paper. Lightly dab the surface of the bun with some milk using your finger to smooth the surface. Loosely cover with clean kitchen towel to prevent drying. Work with another dough and do the same. Proceed to proofing after that.
- For mantou shape, roll the dough into a long log and use a dough cutter to cut into 8 equal portions using serrated knife is best so it won’t squish the dough down. Lightly dab the surface of the bun with some milk using your finger to smooth the surface. Proceed to proofing step below.
- Proofing: Let the dough rise at room temperature or at a warm place. If it’s winter where you are, you can use your oven “bread proof” function to let them proof in there, or simply turn on your oven to the lowest temperature and then turn off and after 15 minutes, place the shaped buns in there to let them proof. They won’t necessarily double in size, but at least puff up to about 50% of the original size. This may take about 1 hour or longer at a warm temperature. Don’t go by the time however.
- Steaming: Most likely your steamer won’t be able to accommodate steaming all buns at one go, unless you have something like this 3-tier food steamer (which I really love). You may need to steam in 2-3 batches, which means, the rest of the batches will sit longer and continue to proof while waiting for the steamer. Here’s what you can do: Make sure to cover them with plastic wrap and then place them in the refrigerator to slow down the yeast activity until they are ready to be steamed.
- Please note that I use the largest burner on my stove. Different sizes of burners will produce different amount of heat, so use your largest burner. Bring the water in your steamer to a boil. Wrap the lid of your steamer with a kitchen towel to prevent moisture dripping back on the steamed buns as this will create “burn” spots.
- LOWER THE HEAT TO MEDIUM. Place the buns in there, leaving about 1-inch space in between. Cover with a lid but leaving it about 1/4-inch gap for some steam to escape. Steam on medium heat for 8-10 minutes for plain medium-large buns with no filling, 15 minutes for large buns with raw meat filling. This is especially important if you see that you have overproof the steamed buns (the steamed buns have doubled in size and they have widened to the side). As long as you steam them like this, the buns will not wrinkle and collapse later when you take them out from the steamer.
- After steaming, turn off the heat. DO NOT OPEN THE LID of the steamer. Let the buns sit there for 1 minute. The buns will not sink or wrinkle due to the sudden change in temperature.
- Proceed with the next batch and steam with the same method and setting as I mentioned above. You don’t have to wait for the water in the steamer to cool down to start. Just turn on the stove, crack the lid open and the time starts when water is back to a simmer again.
- Cooling: Immediately remove the buns to wire rack to let them cool down. This is to ensure the bottom of the steamed buns will not be wet and soggy.
- Storing: If you make extra and plan to store them, let the already steamed buns cooled down completely and then place them on a baking sheet, not touching each other, and then put the entire tray inside the freezer for about 1 hour. They will harden, but not completely frozen yet. Transfer to a freezer bag and they will not stick to each other anymore. Try not to keep for more than 1 month.
- Reheating: They can go straight from freezer to steamer when you ready to eat them. Steam on high heat for 5 minutes and they are as good as new.
Use potato starch (not potato flour) if you cannot find wheat starch. If you can’t find potato starch, you can use cornstarch, though I highly recommend potato starch instead of cornstarch.
- Use potato starch (not potato flour) if you cannot find wheat starch. If you can’t find potato starch, you can use cornstarch, though I highly recommend potato starch instead of cornstarch.
- You can use active dry yeast, but make sure to rehydrate the yeast in water or milk with 1 tsp of sugar. It will dissolve and be all foamy, about 10 minutes. If it’s not, your yeast is no longer good. You can add the rest of the sugar into the dough later.
- You can also use fresh yeast, the amount would be 4 x the amount of instant yeast. So you’ll need 16 grams of fresh yeast.
- I highly recommend testing the yeast for activity before starting to work on this recipe. You don’t want to wait for hours only to find out your yeast is no longer good. Here’s how: Add 1 teaspoon of sugar and 2 1/4 teaspoons of yeast (one envelope) to 1/4 cup of warm water. Wait for 10 minutes and if you see foams and bubbles and you smell that yeast aroma, your yeast is still good to go. If not, then you need to get fresh yeast.
- I recommend to start with a small amount of liquid and add more as you go because it really depends on the type of flour you use (they absorb liquid differently) and that’s why I can’t give you an exact amount but 150 ml is a good start and add as you go.
![]() 147 calories· 29 g carbohydrates· 3 g protein· 2 g fat· 1 g saturated fat· 1 g polyunsaturated fat· 1 g monounsaturated fat· 1 g trans fat· 1 mg cholesterol· 107 mg sodium· 97 mg potassium· 1 g fiber· 6 g sugar· 20 IU vitamin A· 1 mg vitamin C· 21 mg calcium· 1 mg iron·
147 calories· 29 g carbohydrates· 3 g protein· 2 g fat· 1 g saturated fat· 1 g polyunsaturated fat· 1 g monounsaturated fat· 1 g trans fat· 1 mg cholesterol· 107 mg sodium· 97 mg potassium· 1 g fiber· 6 g sugar· 20 IU vitamin A· 1 mg vitamin C· 21 mg calcium· 1 mg iron·